Microsoft Flight Simulator 2020 is quickly becoming the top simulator in the market. With the addition of Xbox Game Pass and the fact that this may be the first ‘real’ Flight Simulator to be used on a Console, it becomes much more accessible to everyone. Although it is much easier to use with the accessibilities, there is still a lot that the sim does not prepare you for. Because of this, we have created an extensive list of the top tips that you can implement in Microsoft Flight Simulator.
Setting Up a Second Monitor
If you have a second monitor you can hold ‘right alt’ while clicking on the digital instrument to make it it’s own screen! Now you can move it wherever you want. If you have a second screen you can also move it to the second screen. To split the screens up even further just click on the magnifying glass.
Make The Sim Feel More Alive with Airport Traffic
If you’re having trouble running the sim or just want it to feel more realistic try reducing or increasing the airport life. You can also do this with land and sea traffic. Find this option under General / Traffic. In this section you can increase airport vehicle density, Worker density, as well as a few other key settings.
Finding Your House
Yes, you can find your house in the sim and fly over it! To do this, first you need to go to Google Maps. Enter your address in Google Maps and right click on your house. Copy the coordinates from Google and paste them in the search bar of Microsoft Flight Simulator. Set this location as your arrival or departure. Hit the fly button and your plane will start in the air near your house.
Poor/No Internet Connection
Poor or No internet connection? This is not necessarily a problem. For a poor connection, go to ‘data under ‘general options’ and increase your rolling cache for better performance. For ‘No’ internet connection go to manual cache to improve your offline flight.
To cache a new area, zoom in and out to control the quality as you highlight the area. When you’re done selecting the area, click finish. You can then download the scenery.
Finding Landmarks
Easily find landmarks by typing in the name of the landmark in the search bar of Microsoft Flight Simulator. Set your departure and you will begin your flight near the landmark. (In the image above, I typed in ‘Eiffel Tower’ as an example). Most are easy to find, however if you can’t find the one you are looking for then I suggest using my above noted method with Google Maps.
Filters
By opening filters in the Map area, you can add a huge array of different options. You can change the weather conditions, add friends, cities, landmarks and much more! This is just a nice hidden feature that is sometimes overlooked.
Xbox Game Pass
If you haven’t already purchased Microsoft Flight Simulator, consider getting it on Xbox Game Pass. Xbox Game Pass allows you to start at a very low cost. This will give you a chance to see if you truly like the sim. You can also find out how it runs on your computer without committing you to a large purchase.
Here’s a link for the Xbox Game Pass: https://www.xbox.com/xbox-game-pass
Finding Animals In The Sim
This is a fun feature of Microsoft Flight Sim. If you want to find animals in the sim just type in the animal you’re looking for in the search bar and click ‘departure’ or ‘arrival’.
You can also type in fauna and you will be given a list of all the animals in the sim.
Make it Easier to Spot Animals While Flying
Finding animals in the sim can be difficult, but there is a way around that. To make it easier, while you’re flying, go to ‘navigation’. Under ‘navigation’ click on ‘assistance’. From here, turn on fauna markers. This will make spotting animals much easier!
Increase/Decrease Difficulty
You can adjust the difficulty of the sim by going to the assistance screen. Each drop down menu on the assistance screen allows you to adjust the finer details of the simulation. You can also use the overall adjustments to make your experience easy, medium or hard.
Change Your Pilot
Changing the way your pilot looks is very easy. By going to ‘general’ and then ‘miscellaneous’ you are able to change the look of the pilot, co-pilot and even the instructor.
Flight Controls
Adding flight controls can greatly improve your sim. A couple great options are the Logitech G Pro and the Honeycomb Yoke. I absolutely love the Logitech G Pro rudder pedals.
This is the link for the rudder pedal: http://geni.us/Rudderpedals (Amazon Ad).
Here is the link for the Honeycomb yoke: https://geni.us/HoneyCombYoke (Amazon Ad)
Landing Challenge
If you want to seriously improve and test your flight skills, enter into the landing challenge. Go to ‘activities’ and then ‘landing challenges’. In here you will find incredible places to fly. These are some of the most dangerous and beautiful airports in the world. Don’t forget, this is also a lot of fun!
Graphic Settings
If you’re struggling to run the sim on ‘ultra’, try lowering your graphic settings to ‘high’ or even ‘medium’. There is only a small difference between ultra and high, and making this adjustment can really improve your overall experience!
When it comes to 4k and 2k monitors, consider lowering your render scaling for a big performance boost.
Change Your Call Sign
To change your call sign, when starting a flight, go to your aircraft and click ‘ATC Options’. Change your call sign here. Include words and ATC will refer to you by these words when using your call sign.
Remove Instruments From The External View
Remove instruments from your external view by going to ‘general’, ‘camera’ and scrolling down to the bottom. You can turn off/on the instruments heads up display by going to ‘chase camera’.
Skip Long Travel

Want to skip some of the longest parts of your flight? Just go to the menu and click on “travel to”. From there you can choose which part of the flight you would like to travel to without the wait. This will load you right into that part of the flight, and is an easy way to keep those long trips in check.
Refuel Anytime

Unlike a real plane, the simulator gives you the ability to fuel up whenever you are ready. This option is very simple to access. Just go to the menu, and click on the option to adjust your fuel.
Take Sim To The Next Level

If you’re really looking to take things to the next level I suggest you check out www.flightsimcoach.com. This website allows you to do one-on-one instruction remotely with a flight instructor. A real world flight instructor will actually guide you through a real lesson while you’re flying on your simulator! This can be on either Microsoft Flight Simulator or X-Plane.
Having done real world training, his training on the simulator feels very similar. If you want to bring the most realism you can to your flight sim you should take a look at this. Flight Sim Coach – One on one Flight Training (also known as Zero Sideslip) http://zerosideslip.com?aff=2
(advertisement link). If you use my link you’ll get ten percent off and also help out www.VRFlightworld.com. Make sure when you check out you use the code: VRFlight10.
Common Problems with Active Pause

Active pause can be an amazing tool, but it can also be a dangerous one. On multiple occasions I’ve actually had it crash my plane while on a long flight.
Leaving your plane in an upward attitude with low throttle setting will eventually stall your plane. If you then unpause your plane will start to stall and probably end up in a nose dive.
If your plane is in a nose down attitude with moderate throttle input, your plane will probably over speed. This can cause the plane to over stress.
The best way to avoid this is to check your air speed for stability before leaving the plane. (I’ve also had this issue in auto-pilot so keep that in mind.)
Using a Co-Pilot

Microsoft Flight Simulator gives you the option to use a co-pilot for many different tasks. Some of these include: checklists, atc communications and flying the plane. For me, switching to AI to control the aircraft is usually better than using active pause. Using the co-pilot will usually avoid the problems that come with active pause.
Frames Per Second

If you want to see what FPS you are getting from your sim, just go to options. From there, go to ‘developers’ and then turn on ‘developer mode’. You will now see your FPS.
Sound and Music Options

If you would like to change the music you can choose from three options by clicking on ‘options’. From there, click on ‘general’ and then ‘sound’. Under sound you can make your choice, or choose to turn the music off by going to the bottom and dragging the music slider down.
Removing Stall Horn and Warning Noises from External View
Removing the stall horn or warning noises from the exterior can also be done by clicking ‘options’, ‘general’ and ‘sound’. You can then turn off or on warning sounds in the external view.
Create Custom Views

At any point during the flight you can hold ‘ctrl’ and ‘left alt’ along with any number key to create a custom view. To use the view you created, hold ‘left alt’ and click the corresponding number.
Toolbar

You can make your life easier by customizing your toolbar by removing the tools that you don’t use. Go to your toolbar and click on the cog. From here you can add the items you want and remove the items you don’t.
Speed Up Your Flight
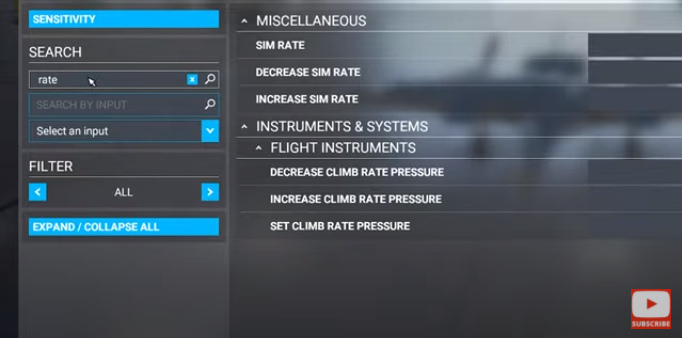
If you want to speed up your flight, you need to first set up a few custom keyboard keys. Under ‘keyboard shortcuts’ search for ‘rate’. From here you can assign any keyboard key to your rate of speed, and speed up or slow down your sim at will.
Training Flights
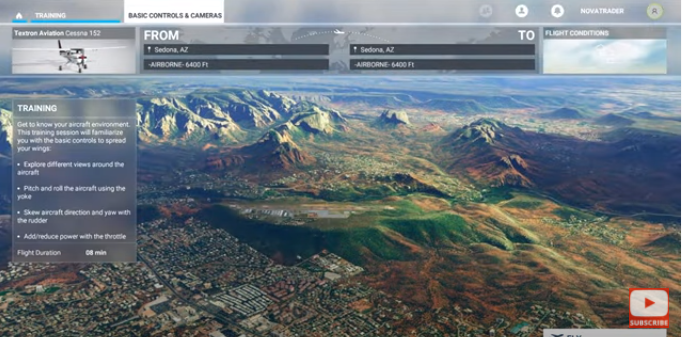
If you’re new to flight simulation this is something you should definitely do. Go to ‘training’ and set up some training flights. This is a great way to learn a little about flight simulation when you’re just getting started.
Flying a large 747 is always exciting. Still, it takes a lot of practice. Knowledge of these airliners systems are key to flying them properly. Starting with a cessna 172, or a plane similar in size, will give you the experience you need to start flying larger and more complex airliners.
Microsoft Flight Sim On Xbox
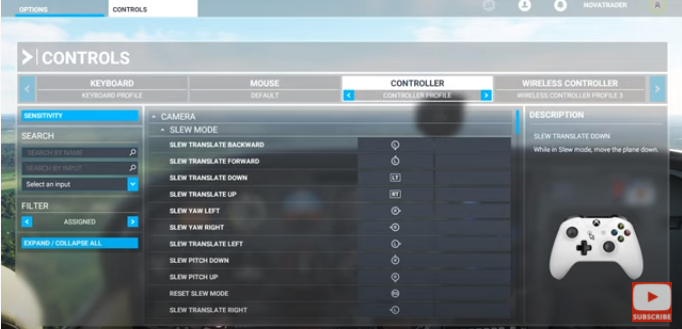
In anticipation of Microsoft Flight Simulator coming out on Xbox, there is actually an option to connect your Xbox controller. If you don’t have an Xbox controller, you can also use your playstation controller in the sim.
Cinematic Shots
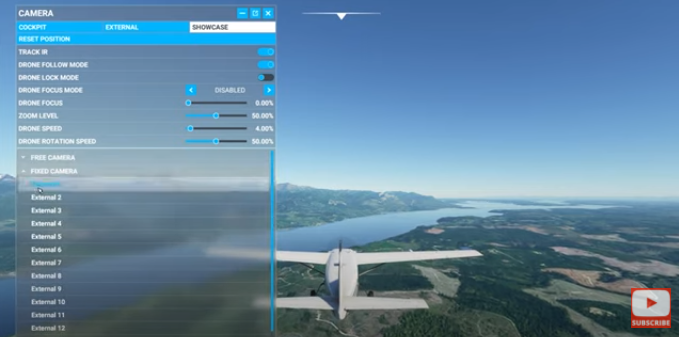
In order to get shots that have a cinematic look and feel, go to ‘showcase’ and open the ‘fixed camera’ view list. Some planes will have more/less views than others. But you should always be able to find beautiful and breathtaking views that are built in with each plane.
Smart Cam
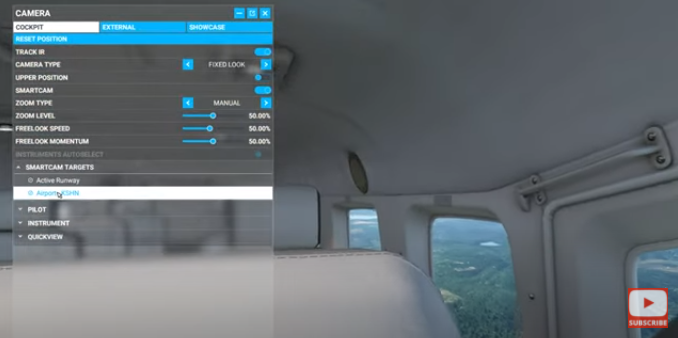
To stay focused on an airport as you fly by, use the smart cam option. You can use this in cockpit or external view mode.
Pilot Position
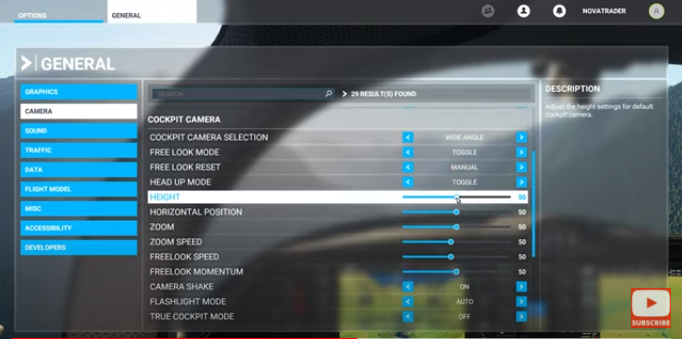
You can easily adjust the pilot position by going to ‘settings’, ‘options’, ‘general’ and then ‘camera’. From there, scroll down to the horizontal position and height. As you make the adjustments you will see the results live in the background.
Reset To Default Location View
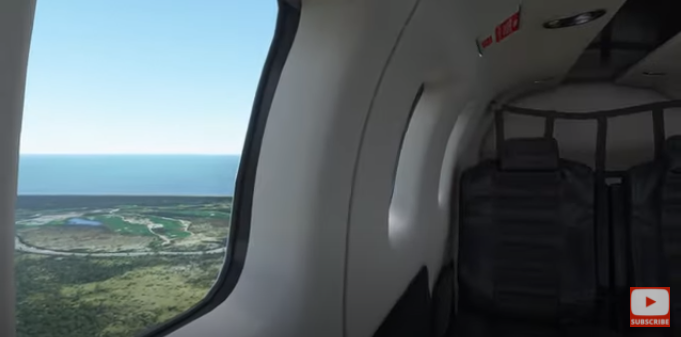
Just hold ‘ctrl’ and push the ‘spacebar’ if you want to reset your view to the default location.
Switch Between Cockpit/External View
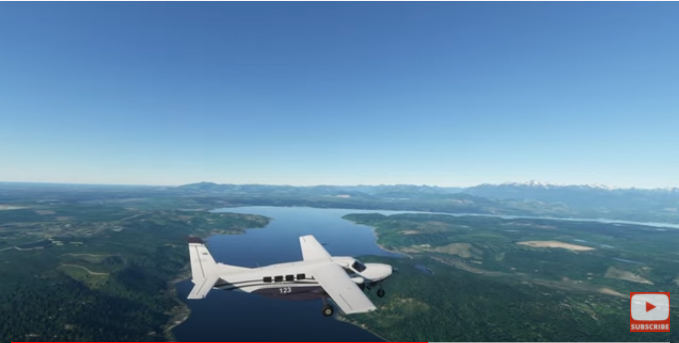
A handy way to switch between cockpit and external view is by simply hitting the end key.
Change Cockpit View
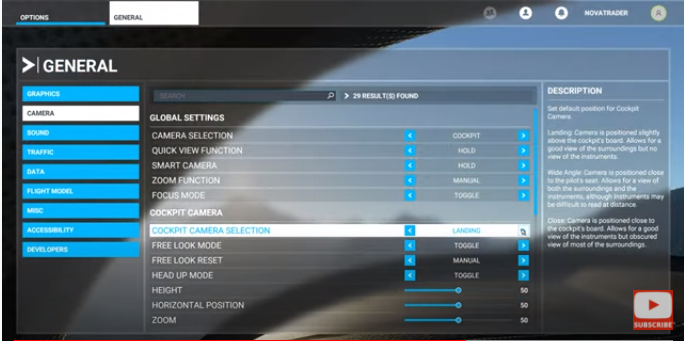
To change the view inside the cockpit go to ‘general’ and then ‘camera’. Here you’ll find ‘cockpit camera selection’. You can change this from landing, close and wide view.
Controller Flying Sensitivity
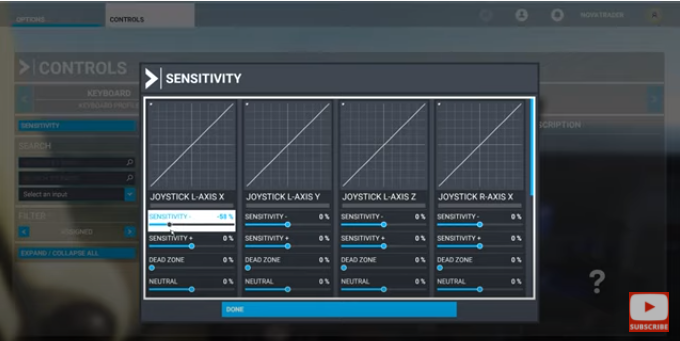
If you’re using a controller for flying, try turning down the sensitivity. This will prevent you from having quick jerky actions when flying your plane.
Microsoft Flight Sim On An SSD
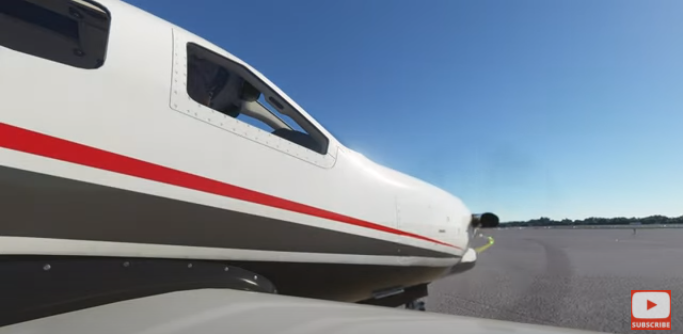
If you’re experiencing slow load times in your sim, try downloading Microsoft Flight Simulator on an SSD. These are significantly faster when it comes to loading times.
Hey guys welcome back. Here are some more tips for Microsoft Flight Simulator to keep upping the ante. Each one offers a unique way to improve your sim experience.
Using AI To Control Checklists
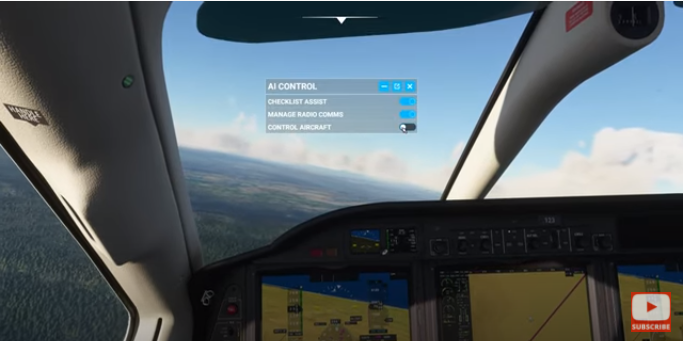
There are a few ways you can use checklists. You can turn on AI to control the checklists as well as the aircraft. By doing this, the checklist will get done automatically along with everything else.
Have More Control Over Checklists
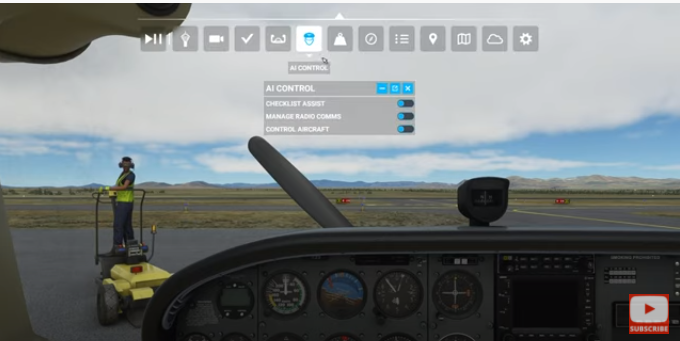
If you want to have more control, just turn on control ‘checklist’. From here, you can click ‘autocomplete’ and have a whole checklist done at once. You can then move on to the next checklist and do the same thing for each one.
You can also have AI complete one task at a time. Or, you can do it the old fashioned way and keep the checklist there so you can refer to it anytime you’d like.
Don’t Let AI Land For You
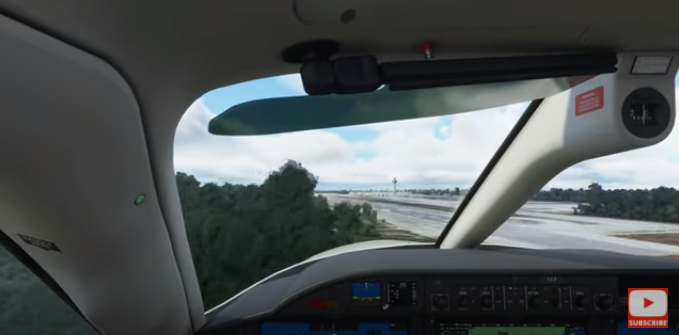
One thing you should definitely avoid doing is letting AI land for you. Anytime I’ve allowed AI to do a landing, it ends up landing in the trees and crashing my plane. So, general rule of thumb: Do your own landings!
Adding Failures
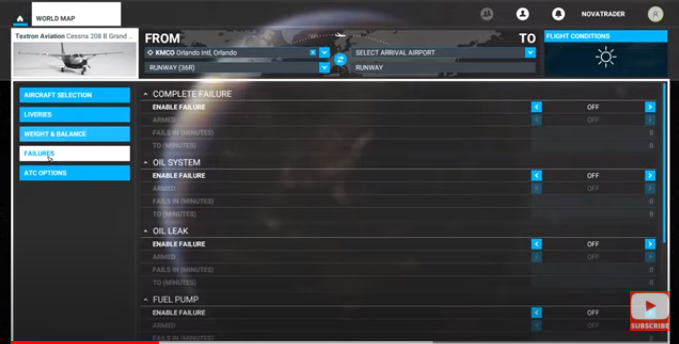
If you’d like an added challenge, try adding in failures. Adding in failures is pretty easy to do. Just go to your aircraft and click on ‘failures’. This is where you’ll find all types of failures you can add in to increase difficulty.
If You’re Interested In Flying A Real Plane
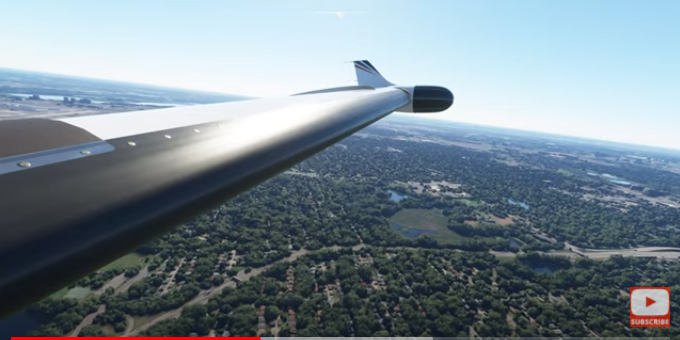
If you’d like to learn how to fly in the real world, check out this link for Rod Machado: https://rodmachado.com/products/rod-machado-s-how-to-fly-an-airplane-handbook-ehandbook.
He has a ton of different training materials that allow you to dive into everything about flight. He goes into great detail about how to fly a plane, and even touches on theory. I would highly recommend you check this out.
I have his ebook, audiobook and written copy. I love them all. If you do use the link, it’s an affiliate link and it does help us out here at www.VRFlightworld.com. Check it out to get a unique in depth look at what it is like to fly a real plane.
Stop Getting Lost At The Airport
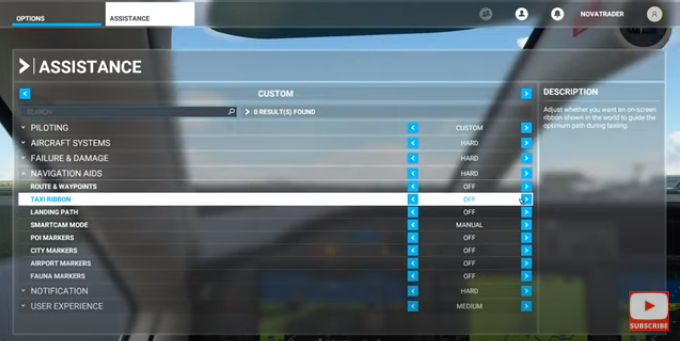
If you don’t want to get lost at the airport, turn on the taxi ribbon. Do this by going to ‘assistance’, ‘navigation aids’ and then switch taxi ribbon to ‘yes’.
Icing Issues
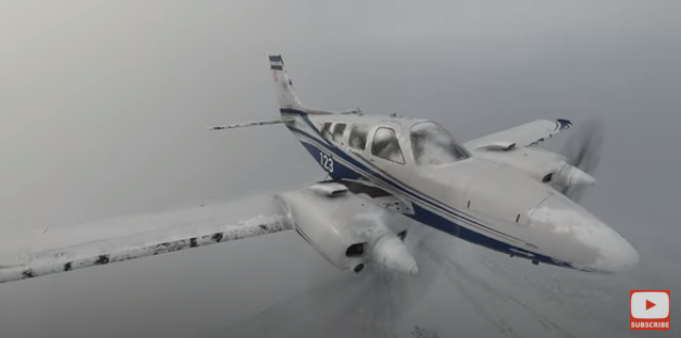
Icing can cause much more than just visualisation problems in simulation. Icing can actually cause performance problems. If you let your plane develop ice on the wings in real life, you’re in for some problems. The same is true in Microsoft Flight Simulator.
Track IR
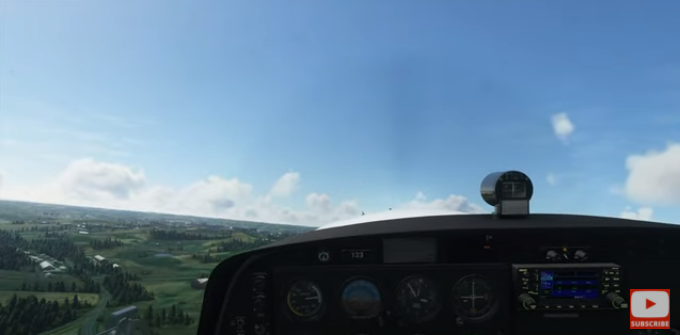
In order to use track IR you need to have your track IR software running in the background. Once you do that, it should work without any other setup.
Track IR On/Off Switch
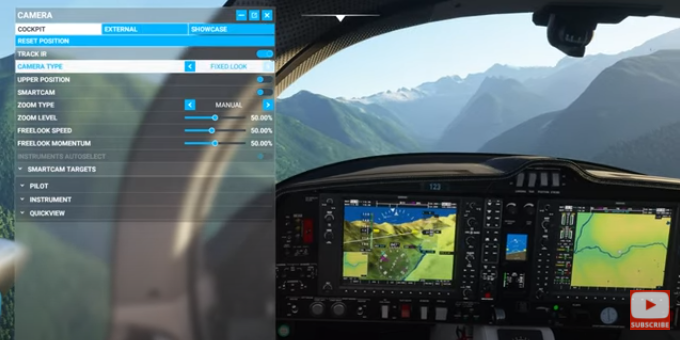
Also regarding track IR, make sure you’re aware of the on/off switch which can be found in the quick menu. What’s great about this is that it resets the screen to default head position. As opposed to using the hotkey which will just stop it and freeze it in position. This will ultimately come down to personal preference.
Practice Landings
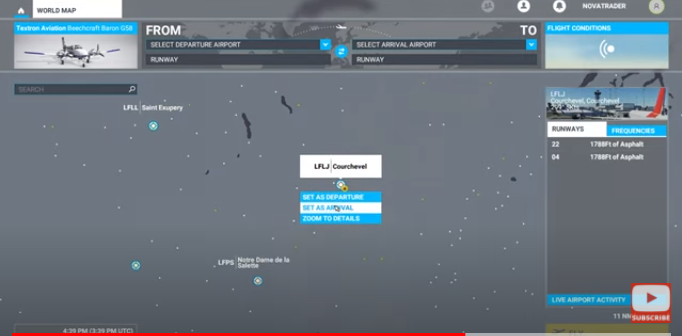
If you’d like to practice landing at a specific airport consider setting your arrival airport. However, don’t set your departure airport because this will start your plane in the air ready for landing.
Moving Around your Drone
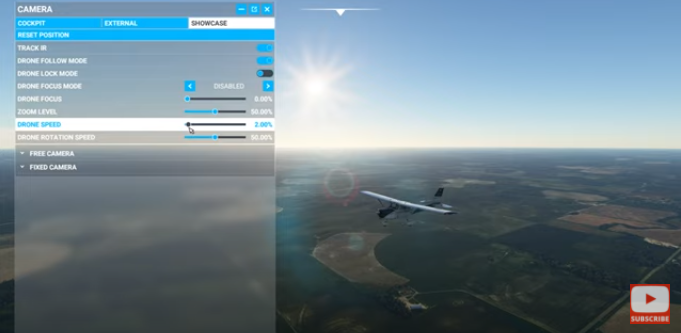
Using drones can be tricky to get the hang of at first. But it is very handy to control a drone with a keyboard once you get used to it.
Control Keys:
Keyboard Keys: Drone Movement
W/S: Forward/Backward
A/D: Left and Right
R/F: Up/Down
You can use the number keys to control rotation.
4/6: Rotate Left/Right
8/2: Look Up/Down
5: Reset View Back To Plane
7/9: Roll Drone Left/Right
Use A Controller
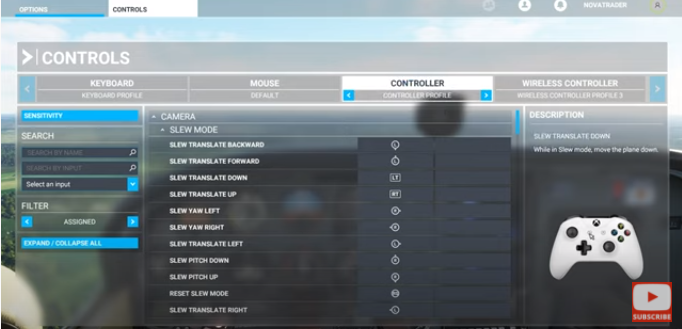
If you’re having trouble maneuvering the drone with a keyboard, you can try using an Xbox or Playstation controller. Either one of these will work great to move the drone around you.
Thanks for reading, and if you have any of your own tips, make sure you leave them in the comments.


Leave a Reply